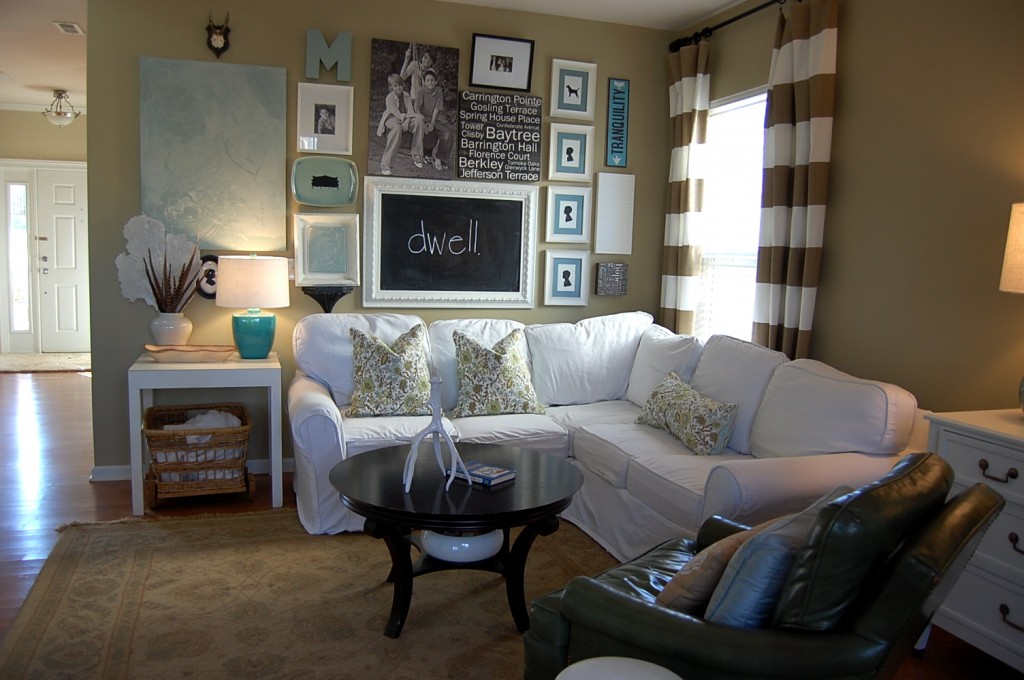
Here are a couple of photos from which I drew inspiration, though I've seen the gallery wall done in lots of unique and fun ways over the past few years.
 |
Source: younghouselove.com Here's the link to their (in my opinion) way too complicated tutorial. |
 |
Source: incourage.me And the link to this tutorial (which isn't really a tutorial, but just an article about gallery walls). |
A couple weeks ago, thanks to the wonderful tool that already has a spot on my "I don't know what I ever did without it" list — Pinterest, I found this helpful tutorial on how to use wax paper to create a template for a gallery wall. Genius. Why didn't I think of this?
So, after sending Ryan out for a new roll of wax paper (mine ran out half-way through my initial attempt), I got to work.
If you're interested in learning more, read on for the step-by-step process. If you just want to see how it turned out (which would be awesome, by the way!), go ahead and scroll down to the end of this post. I won't be offended!
Here's the wall to be "galleried" as it has looked for the last few months. I spend a lot of time looking at this wall as it is directly above my computer desk where I sit for at least a couple of hours every day. And I love both of the pieces that were up there — one is a cork board made by my brothers-in-law out of wine corks (LOVE!), and the other is bunch of photographs of various items that appear to look like the letters P-E-T-E-R-S-O-N — but they just didn't fill up the space in a way that felt appropriate. It just needed more.
To remedy this, I began by measuring out a piece of wax paper the same width as the wall (64-inches).
Since the roll of wax paper was 12-inches wide, I needed to do this 5 times, and then tape all the sheets together to get the appropriate height (58-inches).
Then, I began laying out the frames (on the floor, since that was the only area big enough to see everything). I will spare you photos of the various arrangements I tried before settling on this one. I also took some time to tweak the spacing between each of the frames, not to make them all uniform, but just until they felt "right."
Next, I used a Sharpie to trace the outline of each of the frames onto the wax paper. It is important to be precise in this step because how you draw them on the paper is exactly how they will end up on the wall.
A quick shot of the bare wall before moving this plan into action.
I used painter's tape to affix the wax paper to the wall. I was so pleased with how it looked...
...except for this. The two frames on the bottom corners overlapped the light switches on the wall. I hadn't taken those into consideration. Oops.
While the paper was still on the wall, I marked where the light switches were so that I could make some adjustments.
I will mention that I made a crucial mistake here in that I did not mark where I had placed the paper on the wall before removing it. I guess I figured that when I put it back up there, I would just line up the two light switch squares I drew, but in hindsight, it would have been much easier to mark the top corners of the paper to line things back up later.
Anyway, I took the paper down, re-set all the frames where I had them and then thought about how to fix the problem above. As it turned out, I was able to simply switch around a few of the lower frames that were affected and things still looked pretty symmetrical and clean. Easy peasy. I re-marked those adjusted frames (in red Sharpie this time) and proceeded to the next step.
I (or, I should say "we" now because by this time my dear sweet Ryan was helping out) flipped all the frames over so the backs were facing up and then laid the wax paper back over them. This enabled us to mark where each of the picture hangers/hooks were located for perfect nail placement once the paper was re-positioned on the wall.
See all the little red picture hanger/hook marks? We just nailed right through the paper directly on the marks.
Smiling after the aforementioned frustration of getting the paper to re-align with the light switches, hammer in hand, ready to get nailing!
And we're nailing...and nailing...and nailing...
...and hanging...and hanging...and hanging...
...and aligned everything with a level, to end up with THIS!
I am so IN LOVE with this arrangement! It is perfect! Exactly what I had envisioned!
Now, I need to work on filling all the frames with photos and other fun things. More on that to come...


